Designing Your Stencil
by John Marshall

There are five basic styles of stencils classified according to how a design is depicted – silhouette, reverse silhouette, and so on. The styles of design may be used individually or in combination to create movement and drama.
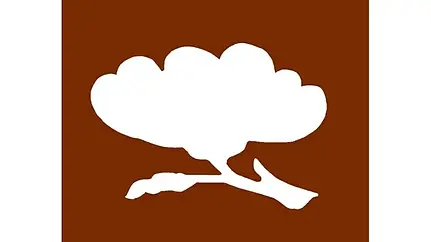
The first style is the familiar silhouette. Keep in mind that the paste will resist color in the cut-out areas. What you see in the stencil is exactly what you will be getting in the finished dyed piece – a colored design where the paper remains and a blank background where the paper has been cut away.

The reverse silhouette is the second style, in which the motif has been cut away and the background left intact. This yields a blank pattern on a colored background.
The next two styles are outlines in which the line is cut away from the paper or, alternatively, everything but the outline is cut away. Notice that the cut-out outline requires tiny breaks in the line. These are called bridges. Bridges serve a very important function in all stencils – they help hold the elements of the design together until the paper can be lacquered. Bridges may remain as part of the design or be removed during the lacquering process.

The fifth style suggests the motif indirectly, through a grouping of punched-out dots or with long narrow slashes that have been cut away to create the impression of looking through a net or bamboo screen.

Most stencils employ more than one technique. Notice how much the silhouette and reverse silhouette designs are enhanced by combining them with the outline styles as in the last example to the right. Many employ elements of all five approaches, but in each case, it is the cut-away section that allows the paste to flow through the stencil and adhere to the cloth, leaving everything except the pasted area vulnerable to the dye. In addition, every stencil requires a border of 1-1/2" to 3" in width. The border secures the design, provides the dyer with a convenient ‘handle’ when working with the stencil, and keeps the excess paste from flowing off the edges as the resist is spread across the surface of the motif.
Yardage used in making traditional women's kimono in Japan averages about fourteen inches in width. With that in mind, it is not surprising that most traditional stencils are about fourteen inches wide as well.


